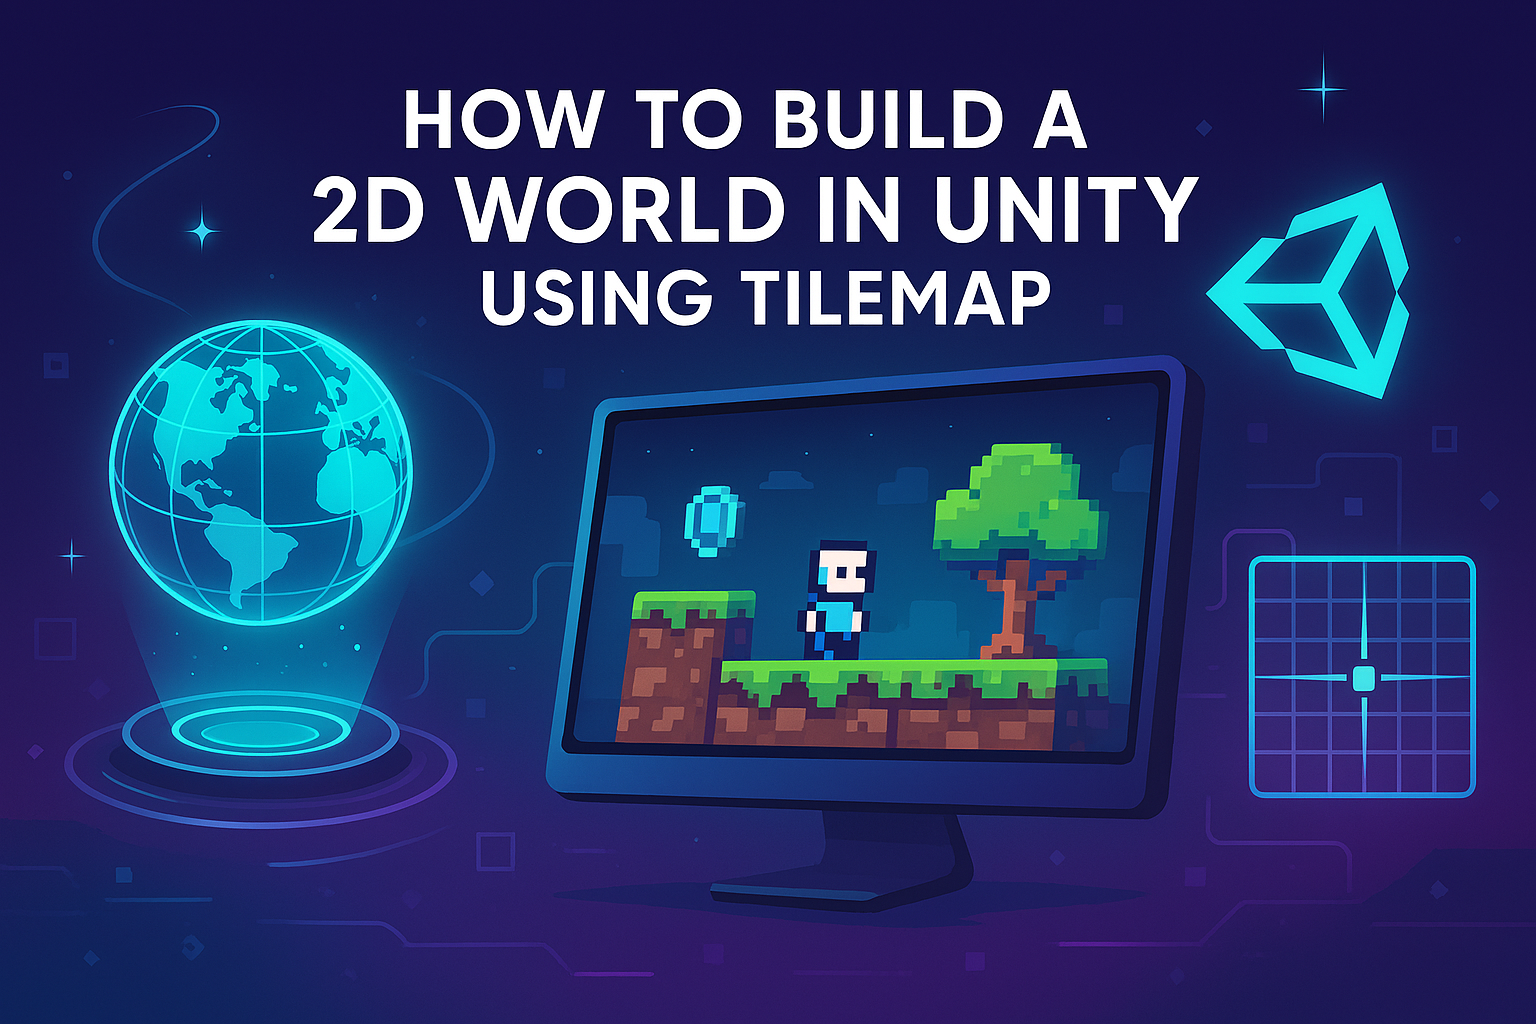
How to Build a 2D World in Unity Using Tilemap
24 Jul 2025

In Unity, the Tilemap system is a powerful tool for creating 2D levels, allowing developers to easily place and edit tiles on a grid. This is especially useful for platformers, puzzlers, strategy games, and other 2D games where the level is built from repeating elements. The basis of working with Tilemaps is the Grid - a grid object to which one or more Tilemap components can be added. Each Tilemap displays its own "layered" tile map, which gives the flexibility to create multi-layered levels - for example, separate layers for the ground, scenery, interaction objects, and colliders. Tiles are pre-made images or animations that can be placed on the map. Unity uses a Tile Palette system, which allows you to create your own palette of tiles, select the ones you need, and place them on the scene like a brush. Tiles can be simple sprites or more complex objects containing logic, colliders, and even animations. In addition, Rule Tile can automatically determine which tiles to use based on their neighbors, which speeds up the level drawing process, especially when creating smooth transitions between tiles.
Tilemap supports physics and object interaction. You can add Tilemap Collider 2D to create collisions based on the shape of tiles, as well as Composite Collider 2D to combine colliders into one, which simplifies physics calculations. Tilemap Renderer is responsible for the visualization of the map, allowing you to control the layers and their display order.
Unity also allows you to programmatically modify Tilemap - remove, replace and analyze tiles on the fly, which opens up space for dynamically changing levels, destruction, procedural map generation and other game mechanics. Thanks to the integration with the ScriptableObject system, tiles can contain individual settings, and interaction with them can be implemented through custom Tile classes.
Working with Tilemap in Unity starts with creating a Grid — a basic object that serves as a container for all tilemaps. To do this, simply right-click in the hierarchy, select 2D Object → Tilemap → Rectangular. Unity will automatically create a Grid object and nest a Tilemap with a Tilemap Renderer in it. If you want, for example, an isometric map, select 2D Object → Tilemap → Isometric or Isometric Z as Y — each of them gives different visual perspective effects.
The next step is to create your own tile palette. Open the Window → 2D → Tile Palette window. In this window, you can create a new palette (Create New Palette button), name it, select the type (Rectangular, Isometric, etc.) and specify a folder for storing it. After creation, you can drag sprites from the project into this window, and Unity will offer to create the corresponding Tile objects. Each such object will be a tile that can be used as a brush.
To edit the map, use the tools at the top of the Tile Palette:
- Brush Tool — a standard brush for placing tiles;
- Box Fill — fills a rectangular area;
- Erase Tool — deletes tiles;
- Select Tool — allows you to select and move areas of the map.
You can also create a Rule Tile that automatically selects the desired tile depending on its neighbors. This is useful for creating, for example, auto-filled roads, walls, or grass with smooth transitions. To do this, install the 2D Tilemap Editor from the Package Manager, then create a new Rule Tile via Assets → Create → 2D → Tiles → Rule Tile. In it, you can set up conditions and visualization based on the surrounding tiles.
The Inspector menu is used to configure a specific tile: you can specify a sprite, a collider (e.g. None, Sprite, Grid), a color, and also bind a script for behavior if you are creating a custom class inheriting from TileBase or Tile.
Additionally, in Tilemap Renderer you can configure Sorting Layer and Order in Layer, so that, for example, grass is above the ground, and decorations are above both. You can also use Tilemap Collider 2D and Composite Collider 2D to interact with physics. To make the map interactive, you can combine tiles and triggers, place objects with colliders and scripts on top of the tilemap.
For procedural generation or dynamic map changes during the game, you can use the SetTile, GetTile, ClearAllTiles methods from the Tilemap script. For example:
public class TilemapEditor : MonoBehaviour
  {
    public Tilemap tilemap;
    public Tile groundTile;
    void Start()
      {
        tilemap.SetTile(new Vector3Int(0, 0, 0), groundTile);
      }
  }
Thus, Tilemap in Unity is not just a drawing tool, but a full-fledged system for creating levels, including visual editors, placement logic and physics support, which makes it indispensable for developing 2D games.
Related games
Jungle Cars Trip Multiplayer - Invite your friends!
Game: Perform tasks and rest cool. 2145 people play!
Play gameElectron in the transistor-resistor kingdom
Game: Perform tasks and rest cool. 2552 people play!
Play gameRelated news
Shader Graph in Unity: The Complete Guide to Creating Shader...
Shaders are an essential part of any graphics-intensive application. Traditionally, shaders in Unity were created using...
Read moreShaders in Unity: History, Basics, and Creating Realistic Ef...
Shaders in Unity are a vital part of the visual design of games and applications, and understanding their principles ope...
Read moreOne Material - Many Textures: A Guide to Texture Array in Un...
Texture atlases and Texture Array in Unity are powerful tools for optimization and flexibility when working with texture...
Read more


