Shader Graph in Unity: The Complete Guide to Creating Shaders Visually
04 Sep 2025
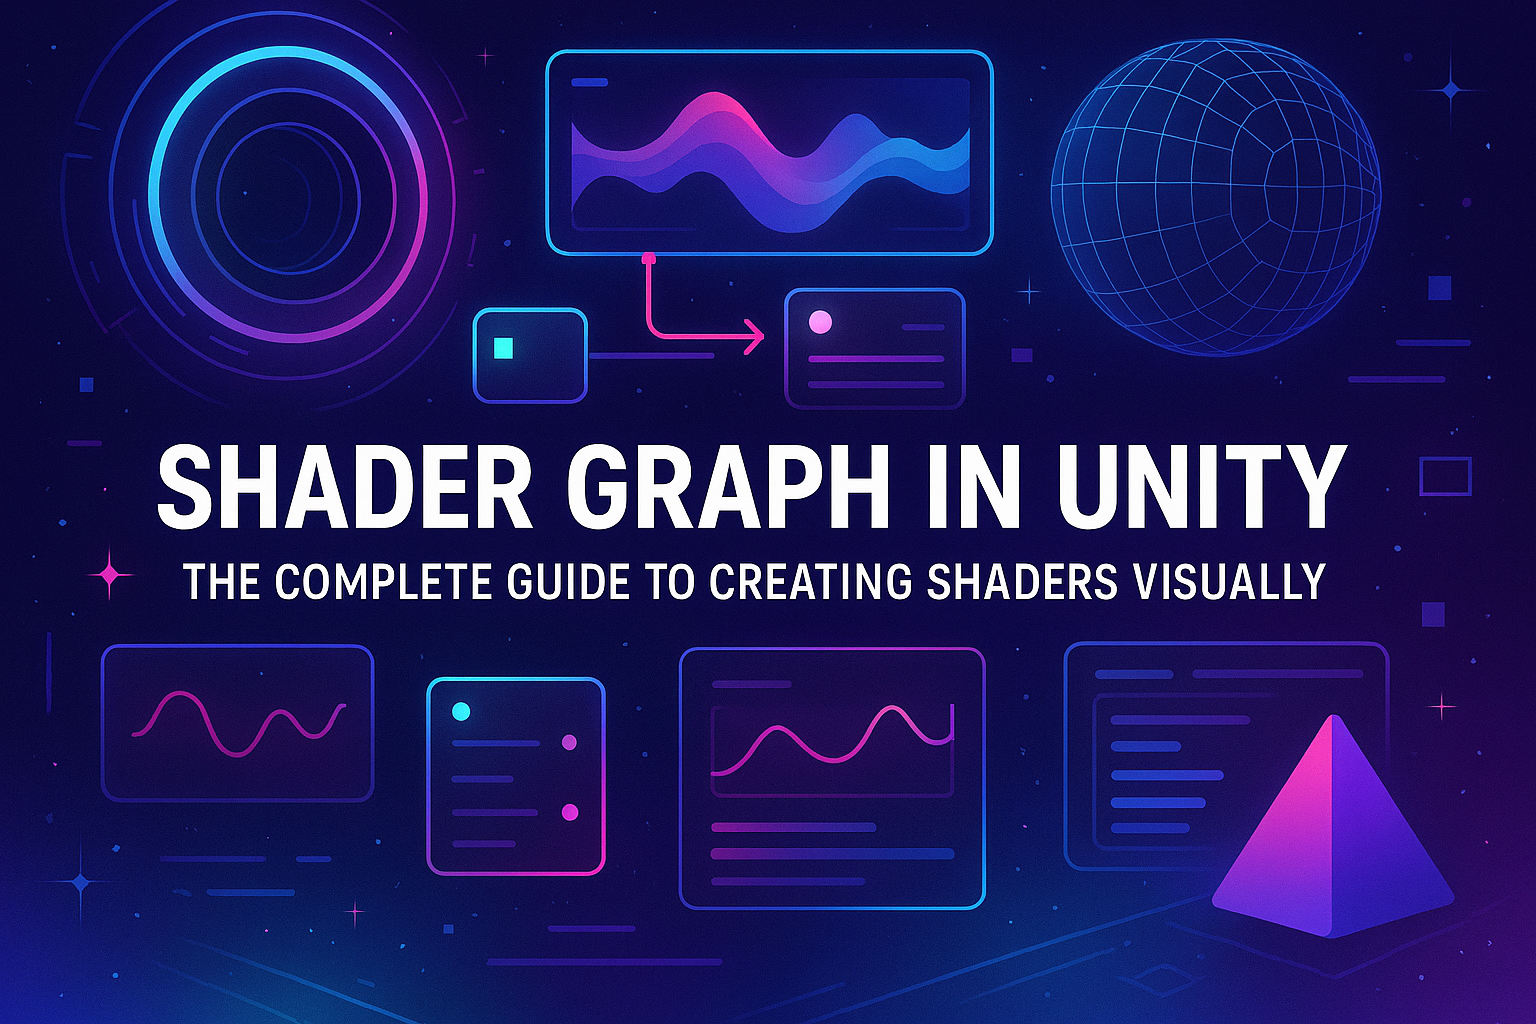
Shaders are an essential part of any graphics-intensive application. Traditionally, shaders in Unity were created using code (such as HLSL), which required a good knowledge of programming and an understanding of rendering. However, with the development of Shader Graph, Unity has introduced a visual way to create shaders, allowing users who are not familiar with programming to create complex graphics effects by simply dragging and dropping nodes. In this article, we will take a closer look at what Shader Graph is, how it works, and how you can use it to create shaders for your Unity projects.
What is Shader Graph?
Shader Graph is a visual shader editor introduced in Unity as part of the Universal Render Pipeline (URP) and High Definition Render Pipeline (HDRP). It allows you to create shaders using a node-based interface (or "node"), simplifying the process of creating them. Instead of manually writing code to calculate vertices or fragments, you work with blocks that can be connected together to achieve the desired effect.
Shader Graph is designed for a variety of shader types, including:
- Vertex Shaders
- Fragment (Pixel) Shaders
- Post Processing Effects
- Surface Shaders
- Unlit Shaders
One of the main benefits of using Shader Graph is the ability to quickly prototype, allowing you to visualize ideas, experiment with effects, and see the results immediately.
How to get started with Shader Graph?
Installing Shader Graph
To use Shader Graph, you need to create a project with one of the rendering pipelines — Universal Render Pipeline (URP) or High Definition Render Pipeline (HDRP). These pipelines already include Shader Graph, so you don’t need to install it separately through the Unity Package Manager.
To do this, create a new project in Unity, select one of the pipelines and activate it in the project settings:
Open Window -> Package Manager.
Find and install Universal RP or High Definition RP if they are not already added.
In the Graphics menu, select the desired pipeline for your project.
Creating a shader using Shader Graph
Once the pipeline is installed and configured, you can start creating a shader. To do this:
Go to Assets -> Create -> Shader -> PBR Graph (or select the desired shader type).
A new Shader Graph editor will open, where you can create shaders.
Shader Graph interface
The editor interface consists of several main elements:
Main Preview - a preview window where the shader's result is displayed.
Blackboard - a panel where shader properties such as textures, parameters, colors are displayed.
Graph Area - The area where you connect nodes to create a shader.
Node Library - A library of available nodes that can be used to create a shader.
Basics of Working with Nodes in Shader Graph
Nodes
In Shader Graph, all elements of a shader are represented by nodes. Each node performs a specific task: calculates color, processes texture, controls lighting, etc. Nodes can be connected to each other using lines, thus creating a data flow that describes how the graphics should be built.
For example, nodes can be divided into the following categories:
Input Nodes — nodes that accept input data (e.g. texture coordinates, normal value, color).
Math Nodes — nodes that perform mathematical operations (addition, multiplication, sine, etc.).
Texture Nodes — nodes for working with textures (e.g. Sample Texture, which allows you to extract data from a texture).
Output Nodes — nodes that specify the final result of the shader (e.g. Fragment for calculating the color of a pixel or Master Node for full rendering).
Simple Shader Example
Let's create a simple shader that changes the color of an object depending on its position on the screen:
The Main Preview will display an object that changes color from red to blue depending on the coordinates on the screen.
To do this, add a Position node that returns the current coordinates of the object.
Then use the Split node to get only the desired component (for example, X or Y).
Next, use the Remap math node to transform the value and connect it to the Color node to get a gradient transition from one color to another.
Adding parameters to customize the shader
Shader Graph allows you to add parameters that can be edited directly in the Unity inspector. This is useful if you want to make the shader flexible and customizable. For example, you can add a _Color parameter so that the player can change the color of the object through the UI.
To do this, add a new Color parameter to the Blackboard and connect it to the desired node.
Advantages of Shader Graph
Rapid prototyping
Shader Graph allows you to quickly test different ideas, change colors, textures, lighting, effects in real time without having to write code.
Accessibility for artists
This tool allows artists and designers to create shaders without the need to know how to program. All you need is the ability to work with visual elements.
Many built-in nodes
Unity provides a wide range of nodes for working with colors, textures, mathematical operations, as well as specialized nodes for working with lighting, reflections and post-processing.
Flexibility and extensibility
Shader Graph also provides the ability to add custom nodes, which makes it a very flexible tool for experienced developers.
Advanced capabilities of Shader Graph
Visualization of complex effects
For example, you can create shaders for water, glass, fire and other complex effects by combining different nodes. In this process, it is important to know how to work with normals, reflection maps and refractions.
Post Processing and Post Processing Effects
Shader Graph allows you to create post processing effects such as blur, vignetting, lighting effects and many other effects that enhance the visual characteristics of your project.
Parallel use with code
If you want to integrate Shader Graph with traditional code, you can combine created shaders with programmable shaders or even generate shaders on the fly via C# scripts.
Conclusion
Shader Graph is a powerful tool that greatly simplifies the process of creating shaders in Unity. It allows you to create high-quality graphical effects without having to delve into complex code, and gives artists and designers the ability to control the appearance of the game. Using Shader Graph will open up new horizons for visual experimentation, providing flexibility and creativity when working with graphics.
Related games
Jungle Cars Trip Multiplayer - Invite your friends!
Game: Perform tasks and rest cool. 2145 people play!
Play gameElectron in the transistor-resistor kingdom
Game: Perform tasks and rest cool. 2552 people play!
Play gameRelated news
Shaders in Unity: History, Basics, and Creating Realistic Ef...
Shaders in Unity are a vital part of the visual design of games and applications, and understanding their principles ope...
Read moreOne Material - Many Textures: A Guide to Texture Array in Un...
Texture atlases and Texture Array in Unity are powerful tools for optimization and flexibility when working with texture...
Read moreRed Cross on Sprite in Unity Causes and How to Fix
A red crossed-out cross on a sprite in Unity is a visual indicator of an error, and most often it is associated with texture loading issues or incorrect material settings. Here are the main reasons why this may happen
Read more